Pressure Canning Potato Soup goes from the Kettle to the Jar in no time. Remember we Can Not use Dairy when Pressure Canning!
 The Pressure Canning How to of this delightful soup is here! So to Pressure Canning Quart/Pints Jars of Potato Soup get your supplies and ingredients and let us get started.
First let us talk about why we do not add thickener's to our soups in general. Adding flour or other thickening agents to a canned soup prevents heat from penetrating to the center of the jar. This is going to interfere with the safe processing which would destroy the bacterial spores that cause botulism. Never add thickening agents to home canned products. And never puree your soup the heat will not be able to get it to a safe temperature.
Once you have made your Potato Soup here is the make sure you do list:
Let us get the recipe started enough information even though knowledge is so powerful in our canning world.
3 - 32 ounce chicken broth
2 strips of bacon chopped (optional)
Half of 1 white onion finely chopped
2 garlic cloves finely chopped
salt and pepper to taste
NOTE: To add the bacon is a personal option. It is such a small amount in the recipe that I have never had an issue with the time or the results. BUT please use caution as this recipe has not been tested by the National Center for Home Preservation.
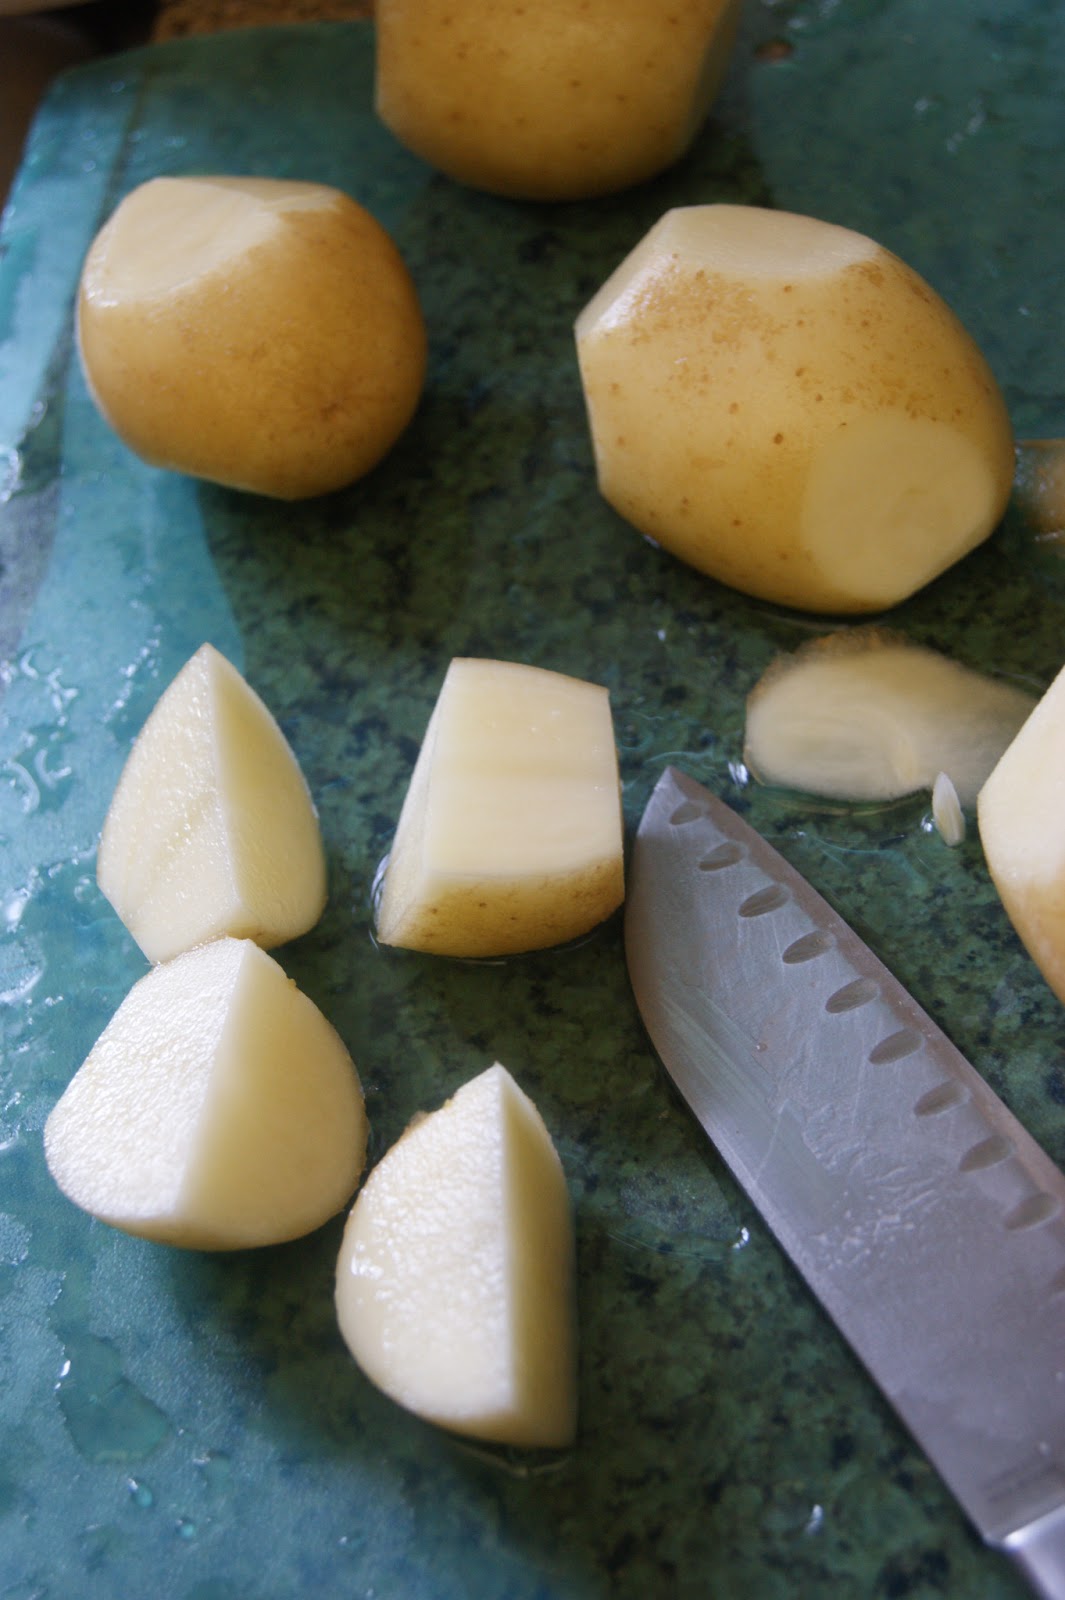
You need to get all your ingredients ready for the potato soup. This is one rule I follow be ready. You must peel your potato's the chance of botulism is in the spores they grab it from the soil. So peel ! Toss the peels into the compost pile no waste.

This is a bad potato. It seems so unnecessary to show you but it is always good to see the bad as well as the good!

Alright get all your chopped potatoes into a large stainless steel pot of water. You always want to start your potatoes in a cold water not hot or boiling. Yes, there are as many reasons to this subject of hot vs. cold that it would interfere with the topic to go into it. But to keep it simple you want to always start the potatoes in cold water this way you can insure the potato will cook evenly for the soup.
Get a nice simmer not to much. For only about 5 to 10 minutes they will completely cook in your pressure cooker. Have your warm chicken stock in a separate pot. Keep the water with your chopped potatoes you may need the extra liquid to fill the jars. You will be taking the potatoes from the water to fill the jars.

Place your jars into your pressure canner and do not over stuff the pressure canner. The jars should be close but not touching. Yes I could probably put another jar in but I am a very cautious canner.
Add a tablespoon of 5% vinegar to the water in your canner it will get rid of any hard water stains that would be left on your jar's.
Pressure can your pint jar's for 60 minutes with 11 pounds of pressure. Quart jars for 90 minutes 11 pounds of pressure. When finished allow the pressure canner to release the pressure naturally and remove top carefully. Let the gauge get down to ZERO. Remove jars place on a towel covered counter and let them cool overnight. Watch it they are HOT.
Once cooled wash and wipe your jars clean remove twist lid and store for 6 months to one year in a cool dark pantry or spot.
Return the twist lid after the jars have been opened.
Label and date them. I have forgotten and have eaten many a mystery soup in front of the fireplace.
Disclaimer: This is not an all inclusive recipe for making jam. You should have a basic knowledge and understanding of the canning process before proceeding. Please consult your local Center for Home Preservation for additional information and available classes.
First let us talk about why we do not add thickener's to our soups in general. Adding flour or other thickening agents to a canned soup prevents heat from penetrating to the center of the jar. This is going to interfere with the safe processing which would destroy the bacterial spores that cause botulism. Never add thickening agents to home canned products. And never puree your soup the heat will not be able to get it to a safe temperature.
Wait until you are ready to prepare the soup or food for eating time. When you open and prepare it you can add the flour, cornstarch or other thickening product to it as well as any diary products.
Once you have made your Potato Soup here is the make sure you do list:
- Make sure the soup is boiling prior to canning
- Have your pressure canner prepared
- Sanitize the canning jars and lids
- Ladle soup into clean sanitized jar leaving 1" head space
- Wipe the rims off the jars clean and cap with twist cap
- Tighten them so they are secure but not super tight. Taunt is good
- Process filled jars in a pressure canner, at 10 pounds pressure for weighted canners or 11 pounds for dial-gauge canners, for 90 minutes for quarts or 60 minutes for pints.
Let us get the recipe started enough information even though knowledge is so powerful in our canning world.
Ingredients
5 pounds of potatoes (each pd makes 2 cup per quart jar give or take)3 - 32 ounce chicken broth
2 strips of bacon chopped (optional)
Half of 1 white onion finely chopped
2 garlic cloves finely chopped
salt and pepper to taste
NOTE: To add the bacon is a personal option. It is such a small amount in the recipe that I have never had an issue with the time or the results. BUT please use caution as this recipe has not been tested by the National Center for Home Preservation.
You need to get all your ingredients ready for the potato soup. This is one rule I follow be ready. You must peel your potato's the chance of botulism is in the spores they grab it from the soil. So peel ! Toss the peels into the compost pile no waste.

This is a bad potato. It seems so unnecessary to show you but it is always good to see the bad as well as the good!

Alright get all your chopped potatoes into a large stainless steel pot of water. You always want to start your potatoes in a cold water not hot or boiling. Yes, there are as many reasons to this subject of hot vs. cold that it would interfere with the topic to go into it. But to keep it simple you want to always start the potatoes in cold water this way you can insure the potato will cook evenly for the soup.
Get a nice simmer not to much. For only about 5 to 10 minutes they will completely cook in your pressure cooker. Have your warm chicken stock in a separate pot. Keep the water with your chopped potatoes you may need the extra liquid to fill the jars. You will be taking the potatoes from the water to fill the jars.
Now lets prepare the prepare the bacon, onions and garlic. I cut the bacon with my kitchen scissors.

In an iron skillet (My Favorite) cook the bacon just until it is getting done. Add the chopped onion just as the onion's getting a nice color add the garlic and cook for a few more minute.
Once this is all golden brown I will chop or crush it a bit smaller. Bite size.
Alright you now added the ingredients to your jars. First add the bacon mixture, and then the potatoes to about 3/4 of the way full. The pressure canning will break down the potatoes with the extreme heat.
If you want to add any spices prior to adding the chicken broth do so now. So much of the potato chunks will break down naturally
in the Pressure Canning process.
Now add the chicken broth until it is 1 inch from the top of the jar. This
is important when pressure canning the jars and ingredients need the
space to do what they do best. Once the jars are full use a knife or chop stick to move the ingredients around to assure there is no extra air pockets in the jars. You may have to add more broth once you take this step.
Wipe your rim's clean around the jar and cap and twist the seal taunt.

Place your jars into your pressure canner and do not over stuff the pressure canner. The jars should be close but not touching. Yes I could probably put another jar in but I am a very cautious canner.
Add a tablespoon of 5% vinegar to the water in your canner it will get rid of any hard water stains that would be left on your jar's.
Once cooled wash and wipe your jars clean remove twist lid and store for 6 months to one year in a cool dark pantry or spot.
Return the twist lid after the jars have been opened.
Label and date them. I have forgotten and have eaten many a mystery soup in front of the fireplace.
Disclaimer: This is not an all inclusive recipe for making jam. You should have a basic knowledge and understanding of the canning process before proceeding. Please consult your local Center for Home Preservation for additional information and available classes.